Contribute Code to the YUI Gallery

This tutorial may contain out-dated information, please use the latest documentation available here.
This tutorial assumes you already have Git installed and working. If you don't, see Tutorial: Set Up Your Git Environment for more info, also be sure to sign our CLA if you haven't already before you contribute to YUI.
The first step is to fork the Gallery project on Github. If you don't know how to do this, see Contribute Code to YUI for more info on forking a repository, just substitute yui3-gallery for the yui3 repository.
Creating the Module
Before adding your code to the repository, it's best to create the module in the system. The Module Setup guide will provide the files and extra setup information you need to add your module to the Gallery.
Adding your module
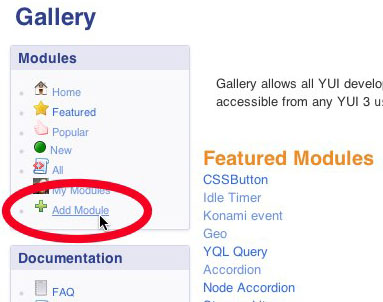
To add your module to the Gallery click the Add Module link in the Gallery's navigation section (pictured below).
Giving us the info
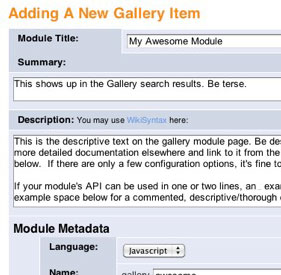
When you add a module to the Gallery you need to make sure that it's properly documented in the system. When users visit the gallery they are usually there to find a module that fits their needs. The more information you provide them about your module, the better the chance of them using it.
Click the image below for more information on the fields in the Add Module form.
Setup the code
After you create your module in the system, you will be shown a custom Module Setup guide walking you through all the steps needed to create your module files and setup your local development environment.
Module Approval
After you have added your files to your Github fork and your module is ready to be seen by the public, visit your modules page on the Gallery and click the "Request Module Approval".

You will not be able to submit a CDN request until your module is approved.
Contributing Changes
Now that your module is live in the Gallery, you now have the ability to submit it to the Yahoo! CDN. But first, there are some rules:
Rules
- You must have a signed CLA on file with us. See Sign Our CLA for more information.
- Code must be licensed under the YUI BSD Licence
- Code must always be submitted un-minified. We will not accept minified code.
- Compiled code will not be accepted, e.g. SWF or FLA files
More information can be found in our Gallery Developer FAQ
Submitting a CDN Request
Please do not use the Github Pull Request system to send Gallery CDN requests.
Once you are ready to submit a pull request, visit your modules page and click the "Submit a CDN Request" button to begin the process.
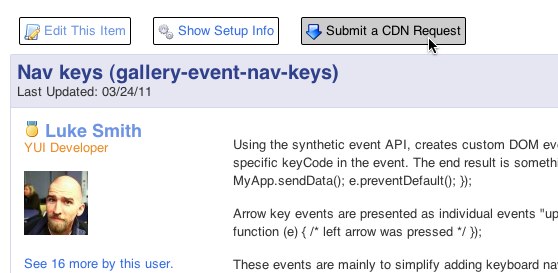
This will take you to our CDN Request page that will allow you to choose exactly which commit you wish to submit to the CDN.
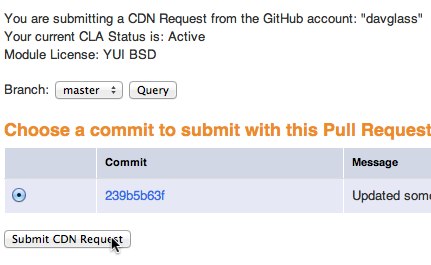
From here choose the commit with the most up to date state of the module code and submit. This will generate a pull request that we can automate and you'll be notified when it has been deployed to the CDN.
After you submit your module for the CDN, it will be approved and added to the next CDN deployment window.
CDN Deployments
We generally do a CDN deployment every Wed afternoon at 1pm PST. When a deployment is started you will receive and email stating that your module has been deployed to the CDN. Please remember that it takes anywhere from one to three hours for a full deployment to happen, so be patient.
After Deployment
After your module has been deployed, that version will be assigned a buildtag. A unique buildtag is created for every build. This allows you (and others) to use your gallery module in their code.
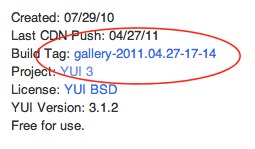
YUI({
    gallery: 'gallery-2011.04.27-17-14'
}).use('gallery-myawesomemodule');
CDN Build Information
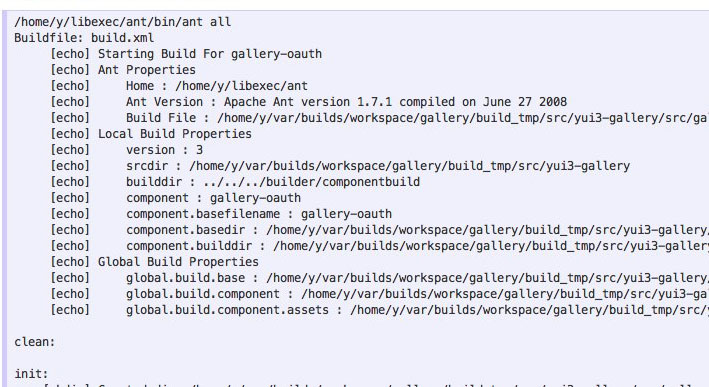
The CDN Build System will export the build log for each of your modules on every build. From your module's page
click the buildtag link. Below the example, there is a section called Build Output. Click the
"Show Build Output" link to see the raw ant log file.
